Learn Digital Painting in Photoshop
by 14 January, 2012 5:55 pm0
It’s impossible for everyone to become an artist, but many of them have a will to become an artist, to draw beautiful paintings but again due to lack of command over the Pencil and Brush, they can’t express their creativity on the paper.
For those people, Photoshop has introduced the chapter of Digital Painting. And to become the master in this trade, they have introduced plenty of tools, functions and menus.
To learn Digital Painting, I have chosen complicated image of Sunflower. With this complex image, you will learn more in Digital Painting and with my tutorial anybody could easily make Digital Painting with any picture. In addition to this painting, you will also learn to create realistic clouds in Photoshop.
Safety Digital Painting Tips
- While painting in Photoshop, for each new effect take a new layer, this will preserve your previously edited work.
- Always make use of the smooth brush from “Brush Presents” when you are painting with the brush tool.
- If by mistake, your digital painting spoiled by over use of brush tool or burn tool, don’t worry! Make use of the Blur Tool or Sponge Tool to correct them properly or in an extensive case, just select that part using Polygonal Lasso Tool and in Filter -> Blur -> apply Gaussian Blur.
Getting Started With Sunflower Digital Painting
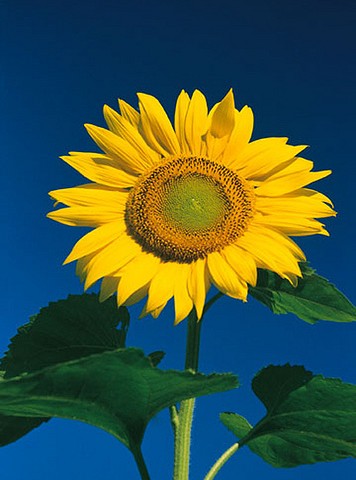
1. To perform Digital Painting, I have chosen this image of Sunflower:
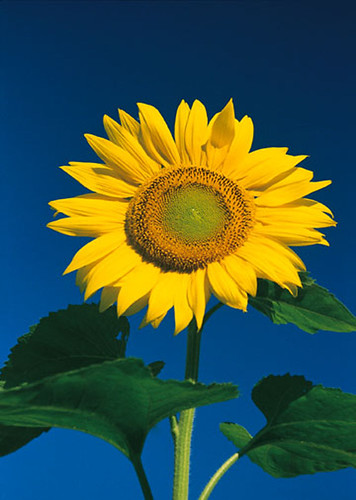
First you have to make a sketch of this image. Don’t worry… There is nothing complicated to do to make a sketch in Photoshop. With the use of Burn tool, you can perform this task easily.
2. To make a sketch, create a new layer and apply the background color Pale Gray (#dbdbdb) to it.

3. Keep the opacity to 40%, and you will see the main image, but in low opacity. Now use the Burn Tool and just draw the borders over the main image.
Keep “Burn Tool properties” as: Range: Midtones, Exposure: 50% and Brush Size: 4.

With this method, you will get the basic sketch of a sunflower. Don’t try to darken it too early otherwise you will lose the output. You have to approach it slowly and gradually.
4. We are now darkening the borders of the image. Follow the same method but this time keep the Burn Tool properties as: Range: Midtones, Exposure: 30% and Brush Size: 3.
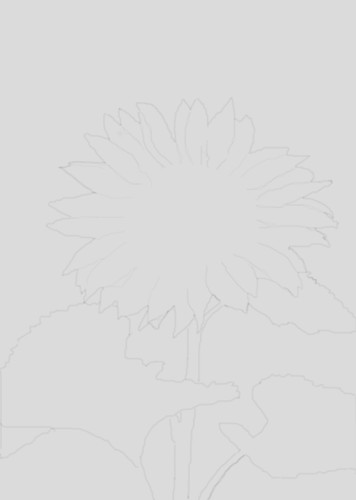
We’re now going to apply shades to our working layer. For this purpose, you have to observe shades on the main image, on which part medium shades are existed, on which part shadows are existed, on which part bright shades are existed that you have to observe perfectly. And along these values, you have to apply shades on a working layer. First we will apply medium shades to our layer.
5. Use same Burn tool and keep properties: Range: Midtones, Exposure: 30% and Brush Size: 20 and then just paint on a layer exactly by observing the tone value on each part of the main image.
You will get an output like this:
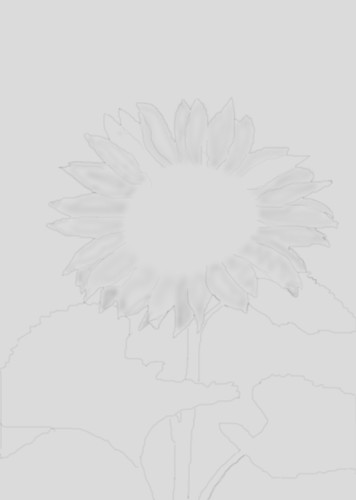
6. After that darken the shades a bit more. This time use Range: Shadows for the Burn tool and Exposure to 30% and again paint on a layer. Here is the output:
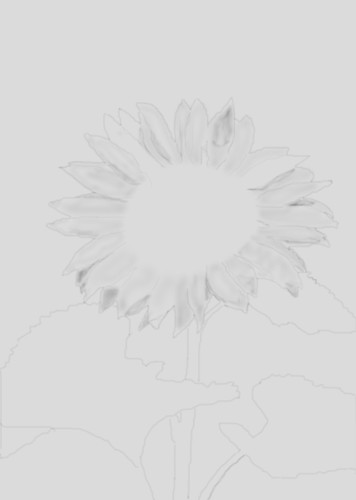
See our overall sketch with proper shades, now it is ready. From the next step, we are moving in the details to this process.
7. First, see our main image and find on which part shadows are existed. Darken that part a bit more. Again select the same “Shadows” range for the Burn tool and keep the exposure to 40% and add extra tones for the shadow part. For clarifying dark borders of the sunflower, use Range: Shadows, Exposure: 80% and brush size 2. By following all above steps, your sketch will become ready for coloring. See the final image of sketch:
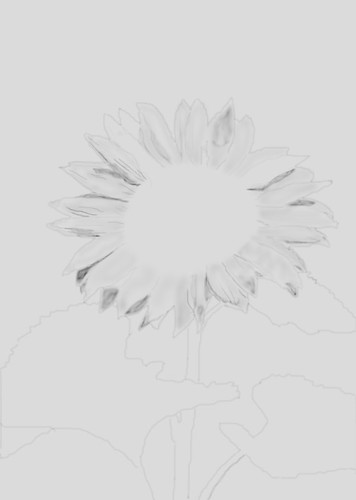
Now we are moving to coloring of the flower. We will look at the middle portion of sunflower later.
8. First select petals of sunflower by using the Pen Tool.
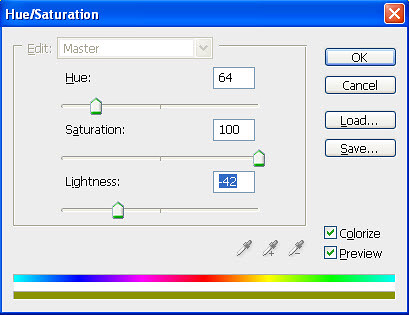
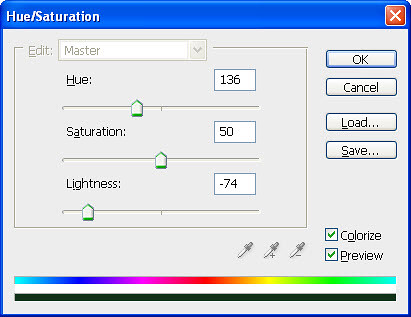
9. Then by using the Hue and Saturation tool, color the flower. Use the following values:
You will then get something like this:
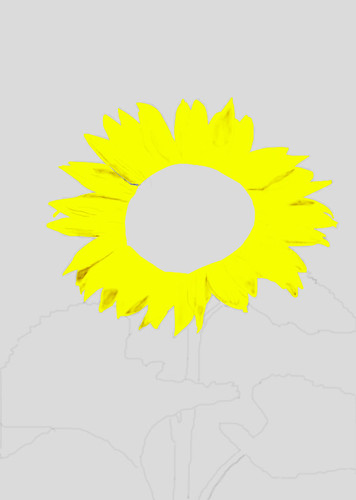
If you observed the main image, then you will find a sort of reddish tone exists over the complete flower.
10. To apply reddish tone to the flower, take Foreground color as #fcbd01 and brush size 25 and just paint lightly on a layer. Then you will get an output like this:
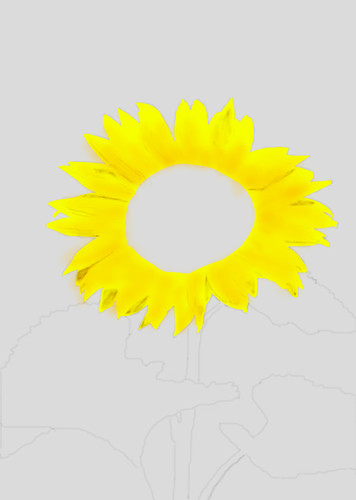
We’re now finalizing the coloring process of sunflower petals.
11. First, select the dark shadow part of a flower by using the Pen tool, and then use this value #e1ba1a as foreground color after that use he Paint Bucket Tool with Opacity: 30% apply color in a selected region only.
12. After darkening each shadow part of a flower, at last, you have to highlight the brighten area of the flower. For this purpose, make the use of the Dodge Tool with Range: Midtones and Exposure: 20%.
By all proper modifications in an image then output you will get like this:
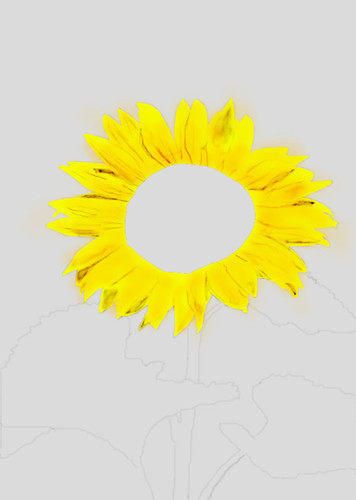
13. First keep foreground color as #d88f0a and then occupy the middle area of the flower like shown in this image:
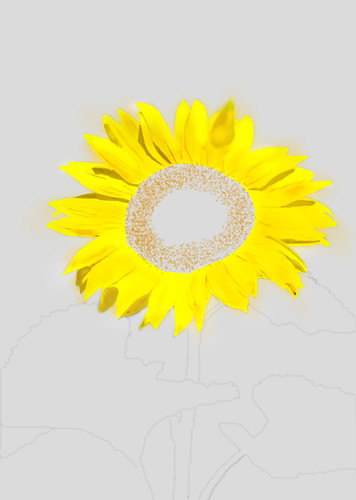
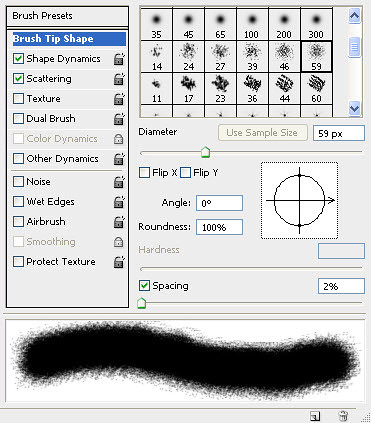
14. Then use the Brushes Palette (select the Brush tool then you will find this option) choose No. 58 Brush Shape and turn the Scattering option on.

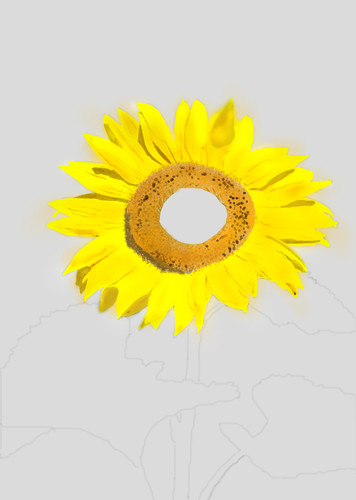
16. Then choose the Black foreground color and apply little drops on a middle portion of a flower. So, your image will look like this:

Digital Painting: Sunflower Leafs
19. To color the leafs follow the above-mentioned tips for adding shades by using the Burn Tool with Range: Midtones and Exposure: 20%.
20. Then to colorize it, first select the leafs using the Pen Tool, make the use of the Hue and Saturation tools and add these values to it.
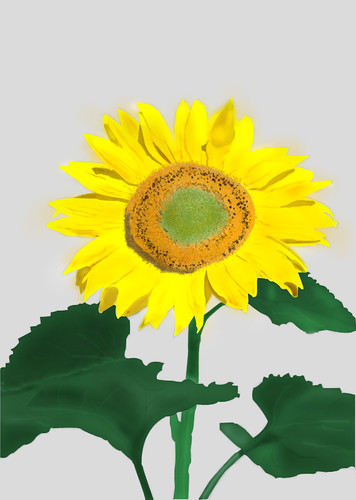
22. To give the final touch to an output select the middle portion and in Filters -> Noise -> choose Add Noise and add 5 in Amount.
Digital Painting: Clouds
23. With the Magic Wand tool, select the background image (Gray colored background) and then inverse that selection by pressing Shift + Ctrl+ I. You will get the sunflower selected part.
24. Then create a new image exactly of our working image size, Width: 570 and Height: 800, and set the background as Transparent. With the use of the Move tool, drag the main sunflower image to the new image and hide this layer.
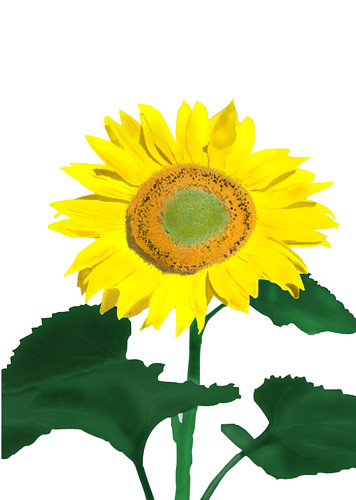
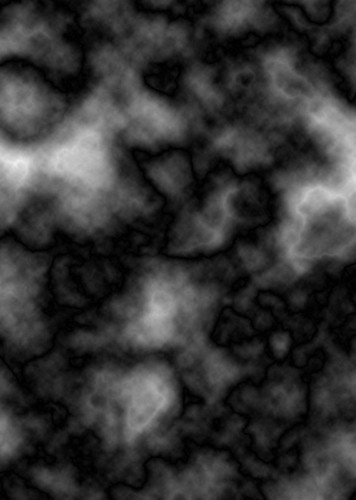
26. On a new layer by clicking right mouse key, select the Blending Options and in that tool choose Gradient Overlay with recently added gradient and then apply it as shown here:

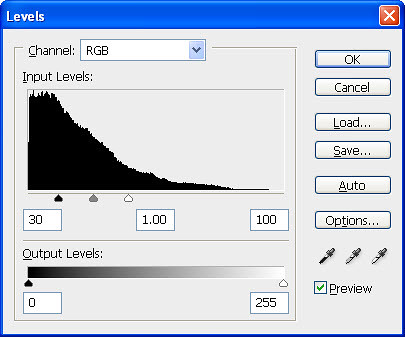
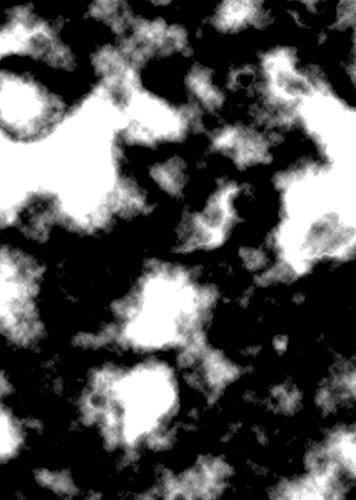
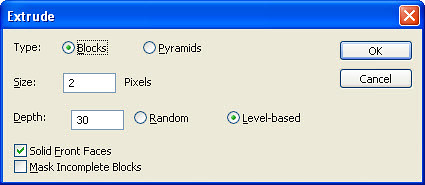

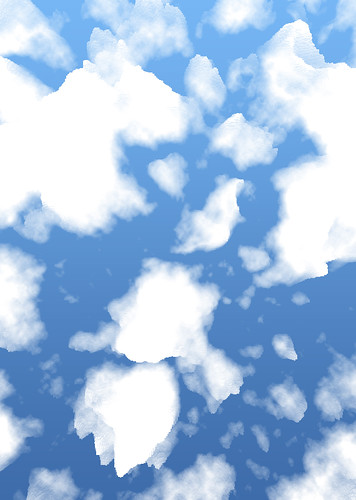
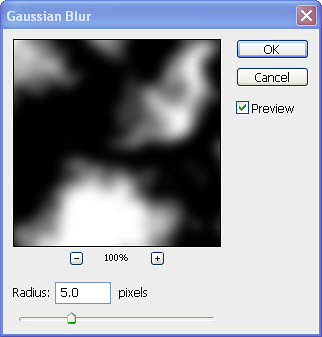
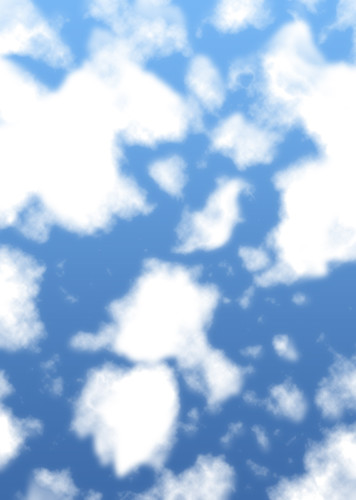
Then turn on the main sunflower image layer, so you will get a final output like this:
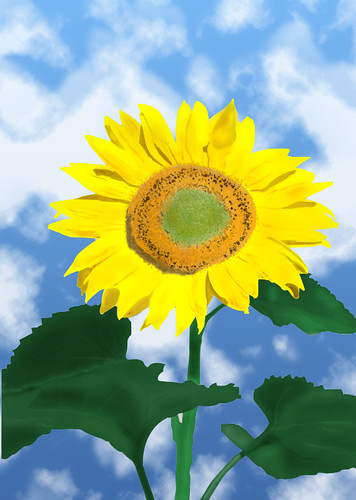
To create this sort of effect, you should have great command over the Photoshop software. So here, Photoshop Tutorials For Beginners you will learn to use Photoshop software smartly.

